A septic tank installation can seem like a daunting task, especially for first-timers. From understanding the ideal septic tank size to determining optimal installation depth, there’s a lot to consider. But trust me, with proper planning and attention to detail, you can achieve an efficient, durable system that works perfectly for years to come. I learned this firsthand during my own installation process — a journey filled with lessons, challenges, and a few surprises.
When I decided to install a septic tank at home, I had no idea what I was getting into. I knew I needed one because I live in a rural area with no access to sewage system, but the whole process seemed overwhelming. However, with patience, research, and help from professionals, I learned everything I needed to.
If you are considering a septic tank installation, here I share my lessons learned to help you complete the process smoothly and without any problems.
November 12, 2024

Septic tank design: your essential guide to understanding, maintenance, and benefits
Table of Contents
1. Soil Analysis: The Foundation of a Successful Septic Tank Installation
The first lesson I learned is that not all soils are created equal when it comes to septic tank installation. I was surprised to learn that soil composition determines how water will drain from your system.
How to Analyze the Soil?
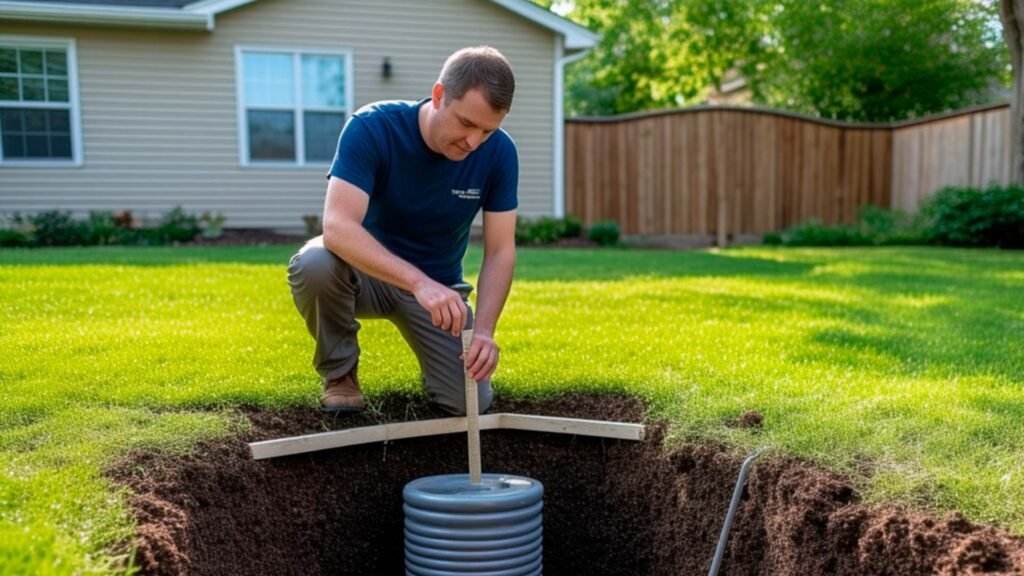
First, I hired a professional to do a percolation test (or “perc test” as the experts call it). This involves digging some holes 2 to 4 feet deep, filling them with water, and measuring how long it takes for the water to be absorbed. This test gives you a clear idea of the soil’s drainage capacity.
Soil Types and What They Mean for Your System
- Sandy Soil:
Pros: Water drains quickly, facilitating efficient natural filtration.
Cons: Can drain so quickly that nutrients leach too far. You will need additional layers of filtration to avoid contaminating groundwater. - Clay Soil:
Pros: Honestly, not many. This type of soil retains too much water.
Cons: Drainage is slow and can easily become saturated. I needed an improved drainage design to ensure there would be no long-term problems. - Frank soil (Loamy):
Pros: It is the perfect balance between sand, clay and organic matter. Drains well and filters naturally.
Tip: If you have loam soil, consider yourself lucky! It is ideal for most installations.
Leveling the Land: Don’t Underestimate the Slope
In addition to the type of soil, leveling the terrain is crucial for septic tank installation. My land had a gentle slope, which made the job easier. The ideal slope for septic tank installation is between 2% to 5%, ensuring that water flows smoothly into the drain field. It’s important to avoid terrain with very steep slopes or areas where water can accumulate.
2. Space Evaluation: Not Everything Fits Anywhere
Another thing I didn’t know was how much space a septic system needs. For a standard home, it is recommended to have between 0.5 and 1 acre available. This includes the tank and drain field.
Important Buffer Zones
For safety and environmental regulation reasons, septic tank installation must adhere to the required minimum distances.
- 100 feet from bodies of water (rivers, lakes)
- 50 feet from water wells
- 10 feet from property lines
In my case, I had to adjust the placement to comply with these regulations while ensuring the septic tank system fit seamlessly into the landscape.
3. Compliance with Local Regulations: You are not spared from paperwork
Obtaining local permits and understanding regulations is an essential step in the septic tank installation process, this is where things can get complicated. Each county and state has its own rules. I needed to obtain several permits and here is what they typically ask for:
- Soil Assessment Report (yes, that perc test I talked about earlier).
- Site plan with the dimensions and exact location of the tank.
- System Design Plans made by a professional.
- Environmental Impact Assessment.
Don’t forget to contact your local Health Department to make sure everything is in order.
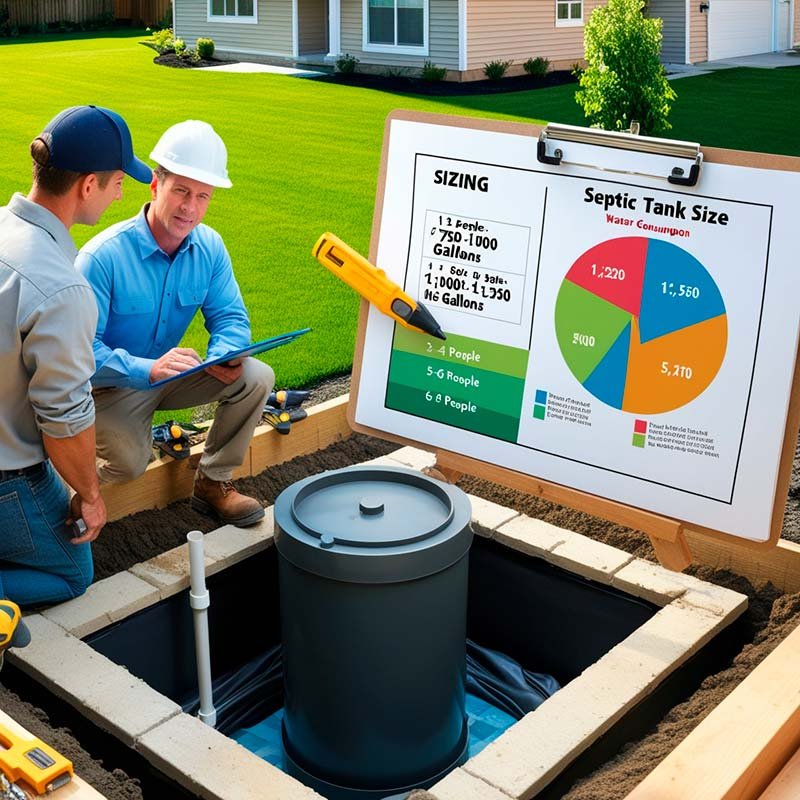
4. Determining Tank Size: You Don’t Want to Go Short
Choosing the right septic tank size is essential. The size of the septic tank depends mainly on how many people live in your house and your daily water consumption. Here’s a quick guide:
- 1 – 2 people: 750-1,000 gallons
- 3 – 4 people: 1,000-1,250 gallons
- 5 – 6 people: 1,250-1,500 gallons
I opted for a 1,250-gallon tank for my family of three. It’s better to have a little more capacity so you don’t have to worry during times of heavy use (like when you have visitors).
5. Costs: Don’t Be Taken by Surprise
Installing a septic tank isn’t cheap, but it’s a long-term investment. Here’s a cost estimate:
- Soil Test: $500 – $1,500
- Permits: $600 – $2,000
- Drainfield Sand: $500 – $2,500
- Excavation and Installation: $1,500 – $5,000
- Septic Tank Design: $300 – $700
In total, my installation cost about $8,600. It hurt my wallet a little, but now I know my system is built to last.
6. Warning Signs: Things to Keep in Mind
Some problems can complicate the installation. Keep an eye out for these warning signs!
- Constantly wet terrain: Indicates a high-water table.
- Rocky soil: Complicates excavation and can increase costs.
- Steep slopes: May hinder proper flow of the system.

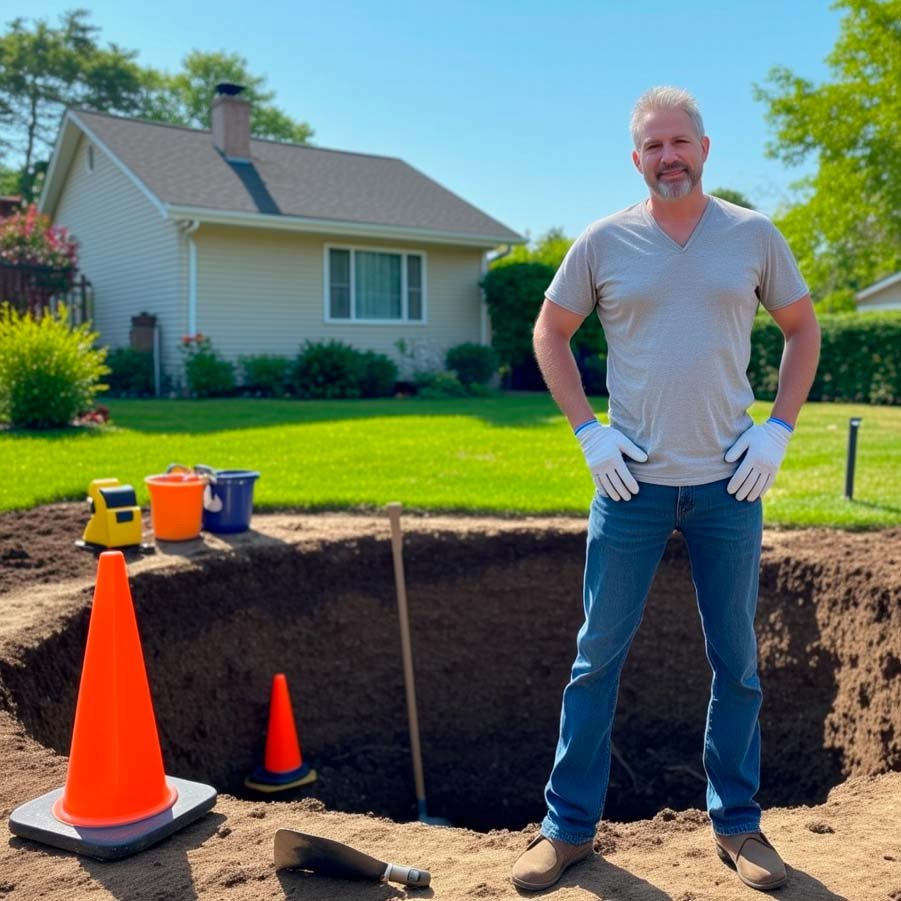
7. Site Preparation: The Key to Efficient Septic Tank Installation
Before breaking ground, there is something essential you must do: prepare the site. It seems obvious, but trust me, a mistake here can turn into a gigantic problem later. This is how I did it and what I learned in the process.
Preparation Steps
- Detailed Topographic Survey:
Here I hired a professional to analyze the terrain and give me an accurate map of the slopes and features. It seems like an unnecessary expense, but knowing exactly what your land is like prevents you from unpleasant surprises such as slopes that you had not noticed. - Complete Soil Analysis:
Don’t underestimate this! A good soil analysis tells you if the land drains well or if it is prone to retaining water. I did a percolation test (a “perc test”) to measure water absorption. I found that my soil had some clay in it, which meant I needed a well-designed drain field. - Elimination of Obstacles:
This step is quite literal: remove trees, roots, rocks, and anything that might interfere with the septic tank installation. I remember finding a rock the size of a couch underground. Yes, it was a nightmare to remove, but it was necessary to avoid long-term problems. - Precise Leveling:
The land should have a gentle slope, ideally 2% to 5%, to ensure that water flows properly into the drain field. If you have slopes that are too steep, water may pool or not drain well. I had to level up an area to avoid puddles and make sure everything drained as it should.
Common Mistakes to Avoid
- Shallow Excavations:
Shallow digging during septic tank installation can lead to system malfunctions, so it’s crucial to follow the recommended depth specifications. - Poorly Located Drain:
Placing the drainfield in an area where water accumulates is a serious mistake. I made sure it was in a well-drained area with no obstructions. - Incorrect Compaction:
Improperly compacting the ground can cause the tank to sink or move. The key is to compact just enough to prevent displacement without blocking the flow of water. - Ignore Terrain Features:
Each terrain is unique. Don’t ignore its peculiarities. A misidentified slope or rock can ruin the entire project.
8. Professionals vs. DIY Installation: Do It Yourself or Call an Expert?
Here comes the million-dollar question: install the tank yourself or hire a professional? I know, a DIY septic system might sound tempting, I strongly recommend hiring professionals. Here’s why.
Risks of a DIY Installation
- Legal Issues:
Without the proper permits, you could face fines or even must dismantle the entire system. - Voided Guarantees:
Many tank warranties are only valid if the installation is performed by a certified professional. - Potential Fines:
If you don’t comply with local regulations, fines can be very expensive. - Inefficient Operation:
An error during septic tank installation can quickly lead to system failure, and no one wants to deal with a septic tank that isn’t functioning properly
Benefits of Professionals
- Specialized Certifications:
The professionals know what they are doing and have certifications to back up their experience. - Extended Guarantees:
A professional installation usually comes with additional warranties. - Regulatory Compliance:
They understand local laws and ensure that every aspect of the septic tank installation process complies with regulations. - Technical Expertise:
A professional can handle any surprises that appear during installation.
9. Climatic Considerations: Adapt to the Environment
Depending on where you live, your septic tank will need specific adjustments. Here are some examples:
- Cold Areas: You will need to protect your system against frost. This may involve installing the tank deeper or adding insulation.
- Wet Areas: Drainage can be complicated. Good drain field design is essential.
- Arid Zones: Optimizing water use is key. Every drop counts.
- Seismic Zones: If you live in an area prone to earthquakes, ensure you have a reinforced design to prevent damage.
10. Post-Installation Recommendations: The Secret is Maintenance
Installing the tank is just the beginning. The real job is to keep it running well.
Maintenance Protocol
- Annual Inspections:
A professional should inspect the system annually to ensure your septic tank installation continues to function effectively. - Detailed Record:
Keep track of all inspections, pumping and repairs. - Overload Prevention:
Don’t use more water than your system can handle. - Continuous Monitoring:
Keep an eye out for any signs of failure, such as bad odors or slow drainage.
Best Practices
- Save Water: Less water means less work for your tank.
- Avoid Harsh Chemicals: These can kill the bacteria that keep your system functioning.
- Protect the Drainage Area: Do not park cars or plant trees nearby.
- Educate your Family: Everyone should know what can and cannot go into the system.
- Emerging Trends: The Future is Smart
- Today, there are incredible technologies to make tank maintenance easier:
- Intelligent Monitoring Systems: They warn you if something goes wrong.
- Ecological Treatments: They help protect the environment.
- Performance Sensors: Detect problems before they become serious.
December 11, 2024

Which Types of Septic Tanks are Right for You? Compare 3 Options: Concrete, Plastic, or Prefabricated
Frequently Asked Questions
How much does it cost to pump a septic tank?
On average, pumping costs range from $200 to $500, depending on tank size and location.
How long does a septic tank last?
With proper care, most tanks last 20 – 40 years.
How often does a septic tank need to be pumped?
Every 3 – 5 years, depending on usage and capacity.
How deep are septic tanks installed?
Typically, tanks are buried 4 – 5 feet deep, but this varies with local regulations.
How far does a septic tank have to be from the house?
Most codes require a minimum distance of 10 – 20 feet.
Conclusion: Planning is the Key
A septic tank installation is not something you want to do lightly. Meticulous planning, professional advice and compliance with regulations are essential to avoid long-term headaches. Despite the challenges, having a well-designed septic system gives you peace of mind and ensures your home runs smoothly for years.
I hope my experience helps you in your installation process!
If you do it right, you will see that all the effort is worth it.